Essential Tips for Smooth Sheetrock Installation
Achieve Flawless Sheetrock Installation: Expert Tips from Philadelphia's Trusted Drywall Contractors
When it comes to home improvement, few things are as satisfying as a perfectly smooth wall. But achieving that level of perfection during sheetrock installation requires skill, patience, and some insider knowledge.
Whether you're sprucing up your South Philly rowhouse or tackling a full-on renovation in the suburbs, our guide will ensure your drywall game is on point. Let’s dive into the best practices for hanging sheetrock and making every wall a masterpiece.
Why Smooth Sheetrock Installation Is Worth It
We’ve all seen it: walls with uneven seams, cracks, or bulges. Yikes. Poorly installed drywall not only looks bad but also sets the stage for future problems like cracking, peeling paint, or even structural damage. With Philadelphia’s mix of historic homes and modern builds, getting sheetrock installation right is non-negotiable.
Properly installed sheetrock enhances durability, creates a pristine surface for painting, and ensures your walls stand the test of time. Plus, in a city like ours, where craftsmanship is king, a well-done job adds serious curb appeal.
Tools of the Trade
Before you roll up your sleeves, stock up on the essentials. Trust us—having the right tools will save you a ton of headaches (and trips to the hardware store).
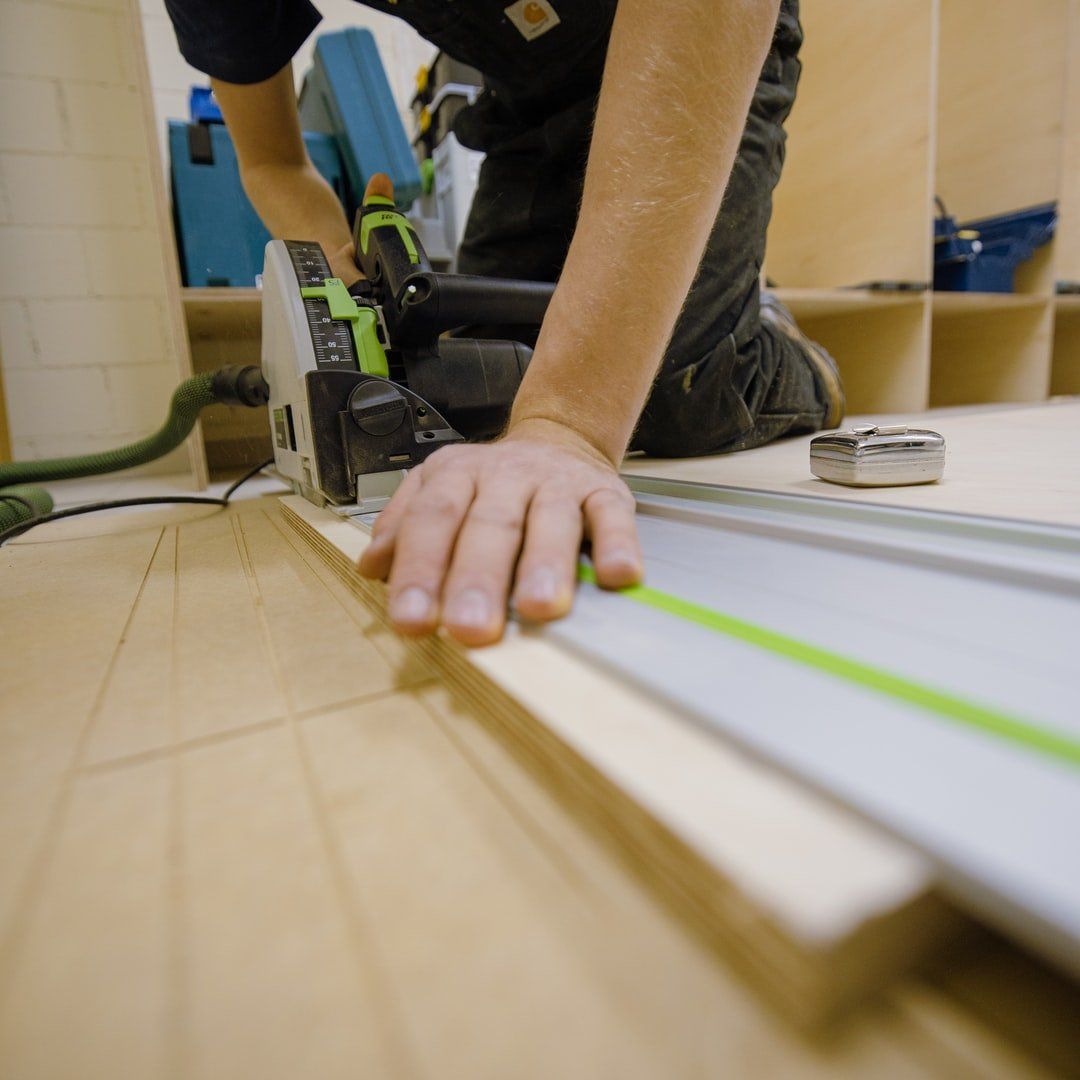
- Sheetrock panels: Choose quality boards for durability.
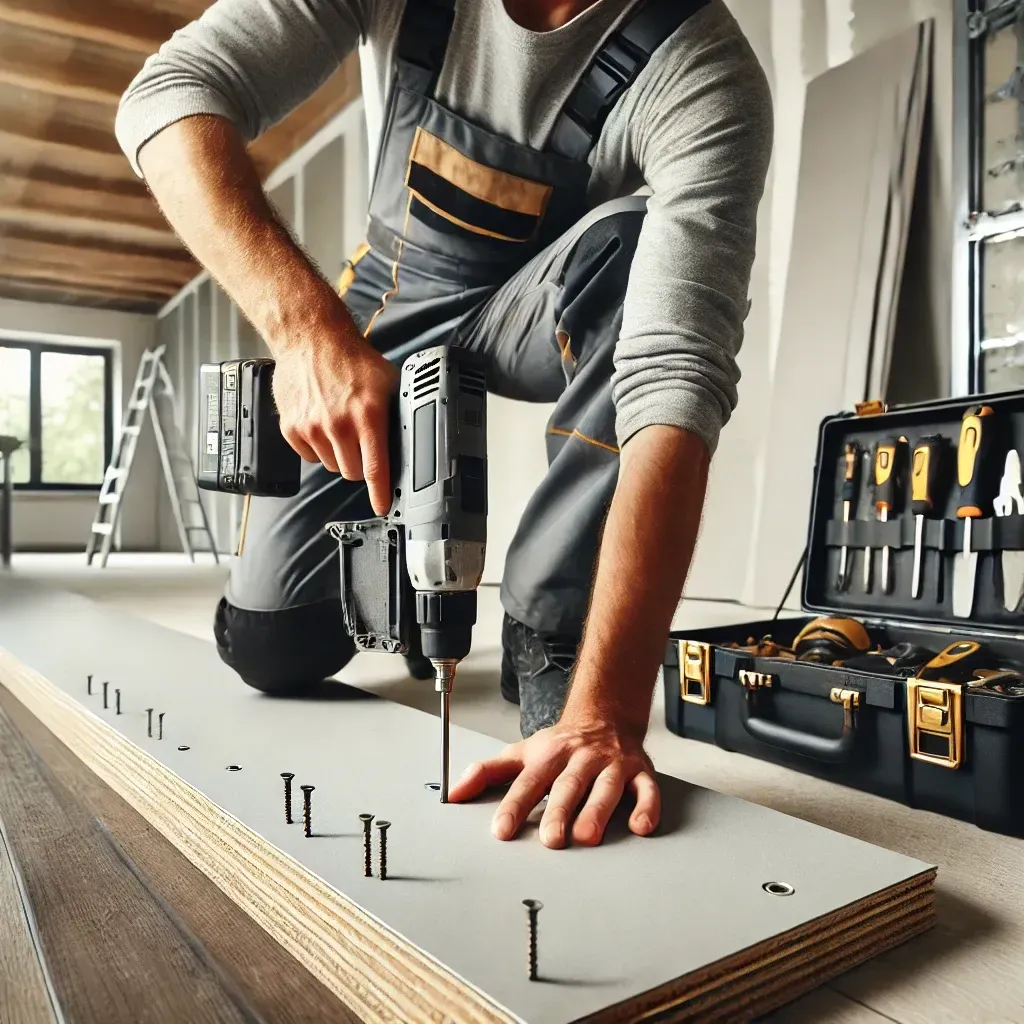
- Drywall screws: 1 1/4" screws work best for most projects.
- Screw gun or drill: Essential for securing panels.
- Utility knife: For clean, precise cuts.
- Taping knives: 6-inch and 12-inch knives are must-haves.
- Joint tape: Opt for paper tape for long-lasting results.
- Joint compound: AKA “mud”—you’ll need plenty of it.
- Sanding blocks or pole sander: Because no one likes a bumpy finish.
Step 1: Prep Like a Pro
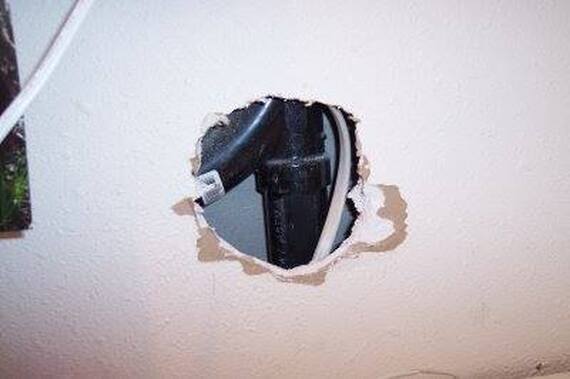
Preparation is half the battle (and half the mess). Start by inspecting the area where the sheetrock will go. In Philadelphia’s older homes, uneven framing or outdated materials can pose challenges, so address these before moving forward.
- Measure Twice: Accurate measurements reduce waste and ensure clean cuts.
- Mark Studs: Use a stud finder and mark their locations to guide screw placement.
- Check Insulation: Make sure the wall cavity is insulated and vapor barriers are in place if needed.
💡 Pro Tip: If you're remodeling a bathroom, use moisture-resistant sheetrock like green board. It’s designed to withstand high humidity and prevent mold.
Step 2: Hanging Sheetrock the Right Way
Here’s where the magic happens—or, if done wrong, where headaches begin. Follow these best practices:
Start at the Top
Gravity is your best friend here. Always install the top panels first, then work your way down. This ensures proper alignment and minimizes gaps.
Mind the Gaps
Leave a 1/4" gap between the sheetrock and the floor. Why? It prevents the panels from absorbing moisture from the subfloor and allows for easier installation of baseboards.
Screw Placement Matters
Space screws about 16 inches apart along the studs. Avoid placing screws too close to the edges, as this can cause cracking.
🌟 We once worked on a home in Fishtown, and the homeowner insisted on counting every screw. Turns out, they were an engineer who loved precision—we didn’t mind the extra quality check!
Step 3: Mastering the Tape and Mud Process
Taping and mudding are where good installations become great. It’s also the most time-consuming step, but trust us, the effort is worth it.
- First Coat: Apply a thin layer of joint compound over seams.
- Lay the Tape: Place paper tape over the mud, pressing lightly to remove bubbles.
- Feather It Out: Apply a wider second coat to blend the edges seamlessly.
- Dry Time Is Key: Let the compound dry completely before sanding or applying additional coats.
🚫 Mistake to Avoid: Don’t overdo the mud—it’s easier to add more than to sand down excess later.
Step 4: Sand, Sand, Sand
Smooth walls don’t happen without sanding. Use a fine-grit sanding block or pole sander to level the surface. Be thorough but gentle—pressing too hard can damage the drywall.
🧹 Dust Control: Sanding is messy, so seal off the room and wear a mask. For a high-end finish, consider wet sanding, which reduces dust but requires more patience.
Step 5: Prime Time
Before you reach for that paintbrush, apply a quality primer. Primer helps seal the sheetrock, creating an even base for paint and preventing blotchy finishes.
🎨 Pro Tip for Philly Homes: If you’re working on an accent wall or vibrant colour, ask your paint store for tinted primer—it enhances the final shade and saves on paint.
Common Mistakes to Avoid
- Skipping Prep Work: Rushing into installation without inspecting the framing or measuring properly.
- Over-Screwing: Too many screws can weaken the drywall and create unsightly bumps.
- Neglecting Dry Time: Impatience leads to sanding wet compounds, which is a recipe for disaster.
- Cheap Materials: Low-quality sheetrock and tape are false economies—you’ll pay more to fix issues later.
Why Trust Professionals for Your Sheetrock Installation?
Sure, DIY might seem tempting, but when it comes to large-scale projects like a South Philadelphia remodel, hiring experts ensures peace of mind. As a trusted Philadelphia drywall contractor, we’ve tackled everything from historic restorations to modern builds, delivering smooth, durable walls every time.
📍 Localized Advantage: We know Philly’s unique architecture and have experience dealing with its quirks, from slanted ceilings in old rowhomes to open-concept designs in new builds.
Final Thoughts
Smooth sheetrock installation isn’t just about technique—it’s about patience, preparation, and attention to detail. Whether you’re tackling a DIY project or entrusting the work to seasoned professionals, following these tips will ensure flawless results.
Ready to transform your walls? Reach out to Drywall Contractor of Philadelphia, PA
for expert guidance, quality materials, and a commitment to excellence. Let’s make your next project a success!
You might also like