Achieve a Professional Look: Drywall Plastering & Finishing Explained
Your Complete Guide to Drywall Plastering, Finishing, and Repairs for a Flawless Finish
Drywall plastering and finishing are critical steps in any renovation or construction project. When done correctly, they provide smooth, flawless walls that are ready for painting, wallpapering, or other final treatments. However, achieving a professional look requires the right techniques, materials, and tools. This comprehensive guide will cover everything from drywall installation to plaster wall repair, ensuring your walls not only look perfect but also last long.
Whether you're a DIY enthusiast looking to improve your skills or you're searching for the best local professionals to help with your project, this guide will walk you through the drywall and finishing process. We’ll also touch on common issues like bathroom drywall, plaster repair, and finding a reliable drywall contractor.

What Is Drywall Plastering and Finishing?
Drywall plastering and finishing involve the process of covering joints, seams, and fasteners on drywall panels to create a smooth, continuous surface. Proper drywall finishing ensures that walls are ready for the final coat of paint or wallpaper, giving them a professional appearance. It also helps to reinforce the drywall structure, making the walls more resistant to damage.
The process usually consists of multiple layers of joint compound, sanding, and sometimes a primer coat before the final paint application. The goal is to create a seamless surface that looks and feels flawless.
Essential Steps to Perfect Drywall Plastering & Finishing
Here’s a step-by-step guide to help you understand the process of drywall plastering and finishing, from installation to the final paint job.
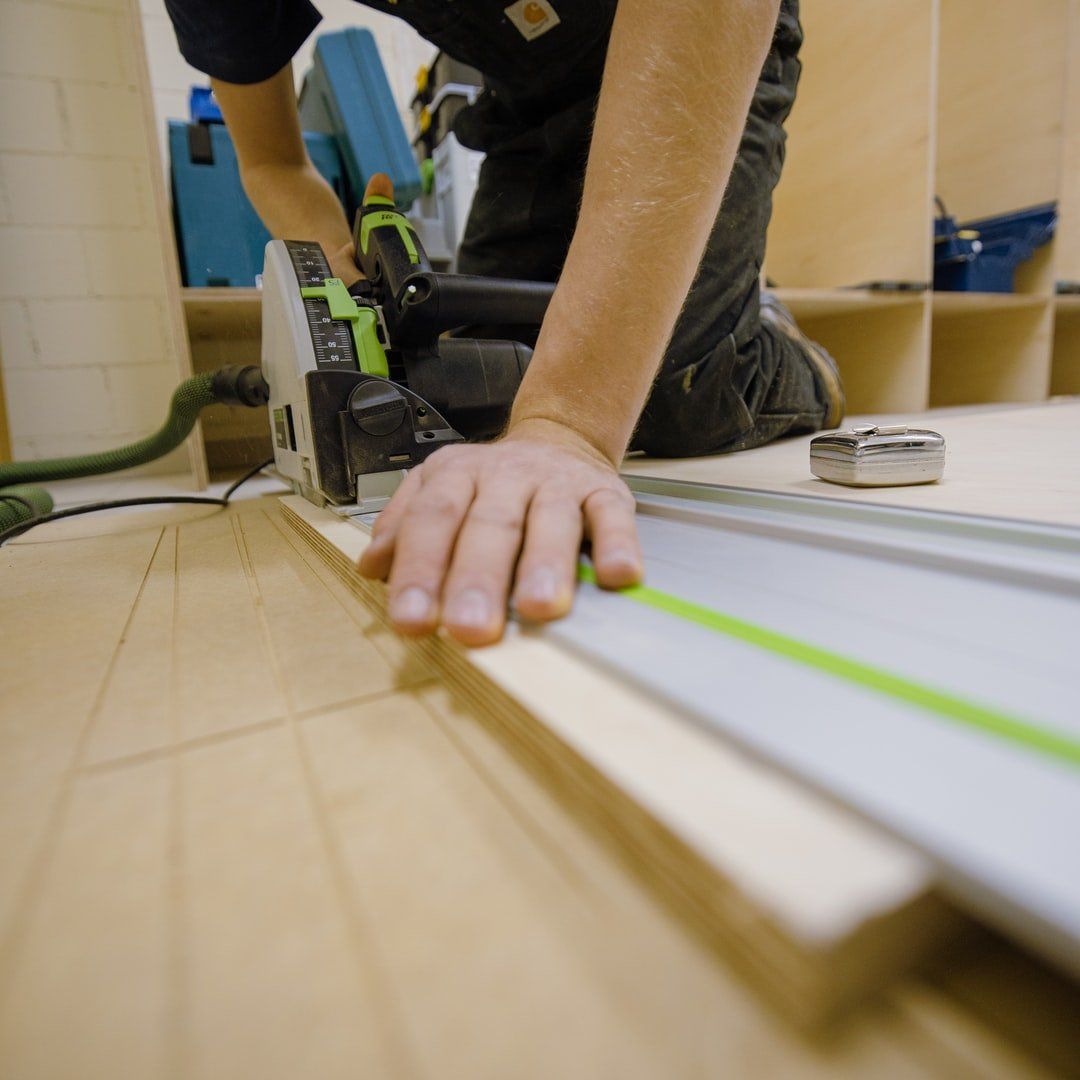
1. Drywall Installation
The first step in any plastering or finishing project is proper drywall installation. Whether you’re using standard drywall or dry wall sheetrock, it’s essential to ensure that the panels are installed correctly. Poor installation can result in uneven surfaces, which are harder to fix during the plastering and finishing stages.
When installing drywall, ensure that all panels are aligned and securely fastened to the studs. If you're installing bathroom drywall, it’s crucial to use moisture-resistant boards to prevent mold growth and water damage over time. For large projects or if you're unfamiliar with the process, it’s always a good idea to hire a drywall contractor for professional results.
2. Taping and Applying Joint Compound
Once your drywall panels are securely in place, it’s time to tape the seams. This involves covering the joints between the panels with drywall tape, which helps prevent cracks from forming along the seams. Next, apply a layer of joint compound (also known as mud) over the tape and fasteners. Use a drywall knife to spread the compound evenly across the surface, feathering out the edges to blend with the surrounding wall.
The compound will need time to dry before the next step, so patience is key. Make sure to apply a second coat of compound after the first has dried to reinforce the seams.
3. Sanding for a Smooth Surface
After the joint compound has dried, it’s time to sand the surface for a perfectly smooth finish. Sanding is one of the most crucial steps in drywall finishing, as it helps to eliminate any uneven areas, bumps, or rough patches. Use a fine-grit sanding block or pole sander, being careful not to sand too aggressively, which can damage the wall.
At this stage, many professionals recommend using a bright light to inspect the wall for imperfections. If you find any, apply a third coat of joint compound and sand again until the wall is perfectly smooth.
4. Priming and Painting
Once your walls are smooth and seamless, it’s time to prime and paint. Applying a coat of primer before painting helps the paint adhere to the wall and provides a uniform base color, especially for drywall painted for the first time. Once the primer is dry, you can apply your final coat of paint or wallpaper to complete the project.
If you're handling both painting & drywall in one project, consider choosing the right type of paint to complement your drywall. For example, use moisture-resistant paint for bathroom drywall to prevent peeling or bubbling.
Common Drywall and Plastering Issues and How to Fix Them
While drywall and plastering are straightforward processes, they’re not without their challenges. Here are some common drywall and plastering problems and how to address them.
1. Cracks in Drywall or Plaster Walls
Cracks in drywall or plaster walls can occur over time due to settling, moisture, or impact. If you notice cracks in your walls, it’s essential to address them as soon as possible to prevent them from worsening.
For minor cracks, a simple patch with joint compound and drywall tape should be enough. For larger cracks, especially in plaster walls, you may need to consult a professional for plaster repair or fixing plaster walls.
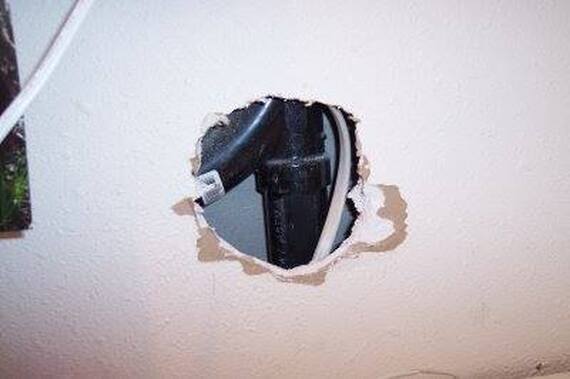
2. Water Damage in Drywall
Water damage is a serious issue, especially in areas like kitchens and bathrooms. If your drywall has been exposed to moisture, it can lead to mold growth, swelling, and structural damage. If you notice water damage, especially in bathroom drywall, it's essential to act quickly. Remove the affected area, replace it with moisture-resistant drywall, and apply a fresh coat of joint compound and paint.
3. Bubbling or Peeling Paint
If your drywall paint is bubbling or peeling, it’s usually a sign of moisture or improper painting techniques. To fix this issue, remove the damaged paint, sand the area smooth, and apply a new coat of primer and paint.
Plasterboard vs. Drywall: What’s the Difference?
Many people use the terms plasterboard wall repair and drywall fix interchangeably, but there are subtle differences between the two materials. Plasterboard is similar to drywall but is made from a different type of gypsum core that offers better soundproofing and fire resistance. It’s commonly used in commercial applications and high-traffic areas.
Drywall, on the other hand, is the go-to material for most residential projects due to its affordability and ease of installation. However, both materials require similar drywall supplies and techniques for installation and finishing.
Finding Professional Help: Drywall Contractors
For many homeowners, tackling a drywall plastering and finishing project can be overwhelming. Hiring a drywall contractor can help ensure that your walls are smooth, professional-looking, and long-lasting.
When searching for a contractor, look for local professionals using keywords like drywall repair near me or company drywall to find reputable businesses in your area. Check reviews and ask for quotes from multiple contractors to get the best value for your project.
Professional contractors can also help with more specialized jobs, such as plaster wall repair, plasterboard wall repair, and bathroom drywall installation.
Essential Drywall Supplies for DIY Projects
If you’re planning to take on drywall plastering and finishing as a DIY project, here are some must-have tools and supplies:
- Drywall Sheets: Depending on the area you’re covering, choose either standard or moisture-resistant drywall.
- Joint Compound: This is used to cover seams and fasteners.
- Drywall Tape: Essential for reinforcing joints.
- Drywall Knife: Used to spread joint compound evenly.
- Sanding Block: For smoothing the surface after applying compound.
- Primer and Paint: For finishing the project once the drywall is smooth.
Having the right drywall supplies is key to a successful DIY project. Ensure you also have safety equipment like goggles and a dust mask to protect yourself while sanding.
Drywall and Finishing in High-Humidity Areas
Bathrooms, kitchens, and basements are particularly prone to moisture, which can be problematic for drywall. Using moisture-resistant drywall (often labeled as "green board") in these areas can prevent water damage and mold growth. Always ensure proper ventilation and consider sealing the drywall with moisture-resistant paint.
For bathroom drywall, pay close attention to sealing joints and seams to keep moisture out. Any damage from water exposure should be repaired immediately to prevent further issues.
The Importance of Proper Plaster Wall Repair
For homes with plaster walls, plaster repair is an important maintenance task. Over time, plaster can crack or become damaged, particularly in older homes. Unlike drywall, plaster is more labor-intensive to repair, and often requires special materials and techniques.
Hiring a professional for fixing plaster walls ensures that repairs are seamless and match the original
wall texture.
Conclusion: Achieving Professional Results with Drywall Plastering & Finishing
Achieving a smooth, professional finish on your drywall or plaster walls requires attention to detail and the right materials. Whether you’re tackling a DIY project or hiring a drywall contractor, understanding the basics of drywall installation, plastering, and finishing is essential for long-lasting, flawless walls.
From drywall repair near me to drywall finishing, this guide covers all aspects of drywall and plastering to ensure your project is a success. Whether you're dealing with bathroom drywall, plasterboard wall repair, or simply need to fix plaster walls, following the right steps will leave you with walls that are as smooth as they are durable.
With the right approach, your home will not only look professional but will also stand the test of time.
You might also like