Erase Imperfections: A Step-by-Step Guide to Touch-Up Painting
Mastering Touch-Up Paint Techniques: Fix Ceiling, Walls & Popcorn Surfaces
Touch-up painting is a simple yet effective way to restore the beauty of your home’s interior. Whether you're dealing with minor scuffs, marks, or cracks, using the right touch up paint can make your walls, ceilings, and even specialized surfaces like popcorn ceilings look as good as new. This comprehensive guide will walk you through the process of touch-up painting, including how to select the right touch up paint for ceiling, ceiling tile touch up paint, and even the specific requirements for popcorn ceiling touch up paint.
Understanding the Basics of Touch-Up Paint
Before diving into the step-by-step process, it’s essential to understand what touch-up paint is and why it's crucial for maintaining the aesthetic appeal of your home. Touch-up paint is specially formulated to match the existing paint on your walls or ceilings, allowing you to cover small imperfections without repainting an entire surface.
Types of Touch-Up Paint
- Standard Wall Touch-Up Paint: Ideal for covering minor scratches and scuffs on walls.
- Touch Up Paint for Ceiling: This is used to fix imperfections on flat or textured ceilings.
- Ceiling Tile Touch Up Paint: Specifically designed for ceiling tiles, this paint helps maintain the uniform appearance of tiled ceilings.
- Popcorn Ceiling Touch Up Paint: This type of paint is formulated to match the texture and color of popcorn ceilings, a common ceiling finish.
Preparing for Touch-Up Painting
Preparation is key to achieving a seamless touch-up. Here’s a list of items you'll need:
- Touch up paint (matching the original paint)
- Paintbrushes or rollers (appropriate for the surface)
- Sandpaper (fine-grit)
- Painter’s tape
- Drop cloths
Cleaning supplies (mild soap and water)
Step 1: Identifying the Imperfections
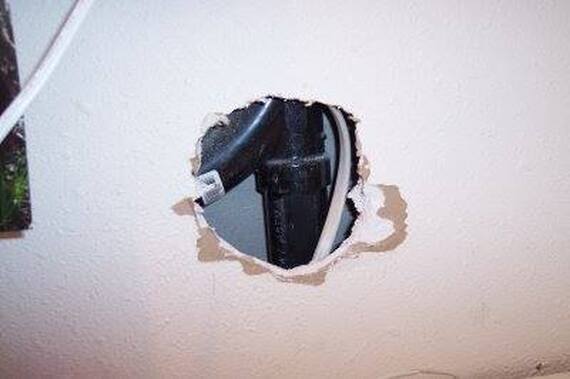
Start by identifying all the areas that need touch-up paint. This could include small cracks, nail holes, scuffs, or any other blemishes. For best results, inspect your surfaces under good lighting, as some imperfections might not be visible in dim light.
Step 2: Cleaning the Area
Before applying touch-up paint, clean the area thoroughly. Use a mild soap and water solution to remove dust, dirt, and grease. Allow the area to dry completely. This step is crucial, especially when using ceiling touch up paint, as ceilings tend to accumulate more dust and grime.
Step 3: Sanding the Surface
Lightly sand the area to ensure a smooth surface for the paint to adhere to. This is particularly important when dealing with ceiling tile touch up paint or touch up paint for popcorn ceiling, as these surfaces may require a bit more preparation to ensure the paint matches perfectly.
Step 4: Masking and Protecting Surrounding Areas
Use painter’s tape to mask off areas that you don't want to paint. Lay down drop cloths to protect your floors and furniture. This step is especially crucial when working with touch up paint for ceiling areas, as paint drips can be more challenging to control on overhead surfaces.
Applying Touch-Up Paint
Once your preparation is complete, you’re ready to apply the touch-up paint. Follow these steps for a flawless finish:
Step 1: Choosing the Right Tools
Select the appropriate brush or roller based on the texture of the surface. For smooth walls, a small roller may work best, while a paintbrush is ideal for detailed work or small areas. For popcorn ceiling touch up paint, a specialized sponge or spray can be more effective.
Step 2: Mixing the Paint
Always mix your touch-up paint thoroughly before application. This ensures that the color is consistent and matches the original paint. If you're using white ceiling touch up paint, make sure it's the same shade as the existing paint.
Step 3: Applying the Paint
Apply the paint in thin, even layers. It’s better to do multiple thin coats rather than one thick one, as this reduces the risk of noticeable differences in texture or color. For touch up paint for ceiling or ceiling tile touch up paint, be sure to use a steady hand to avoid drips.
Step 4: Blending the Edges
To ensure the touch-up blends seamlessly with the surrounding area, feather the edges of the paint. This can be done by lightly brushing the edges of the wet paint with a dry brush or sponge, gradually blending it into the existing paint.
Step 5: Allowing Adequate Drying Time
Allow the paint to dry completely between coats. This is particularly important for touch up paint for popcorn ceiling, as these surfaces can retain moisture and take longer to dry.
Final Touches and Inspection
Once the touch-up paint has dried, inspect the area under various lighting conditions to ensure the color match is perfect. If necessary, apply additional coats or make minor adjustments to achieve the desired finish.
Special Considerations for Different Surfaces
- Walls: Standard wall touch-up paint is relatively straightforward. However, matching the sheen is crucial. For example, if your wall has a satin finish, using a matte touch-up paint can result in noticeable differences.
- Ceilings: Using touch up paint for ceiling can be tricky, especially if the ceiling has a unique texture or color. White ceiling touch up paint is a common choice, but ensure it matches the existing shade of white.
- Ceiling Tiles: Ceiling tile touch up paint requires precision. Ceiling tiles often have unique textures or patterns that must be replicated to ensure a uniform appearance.
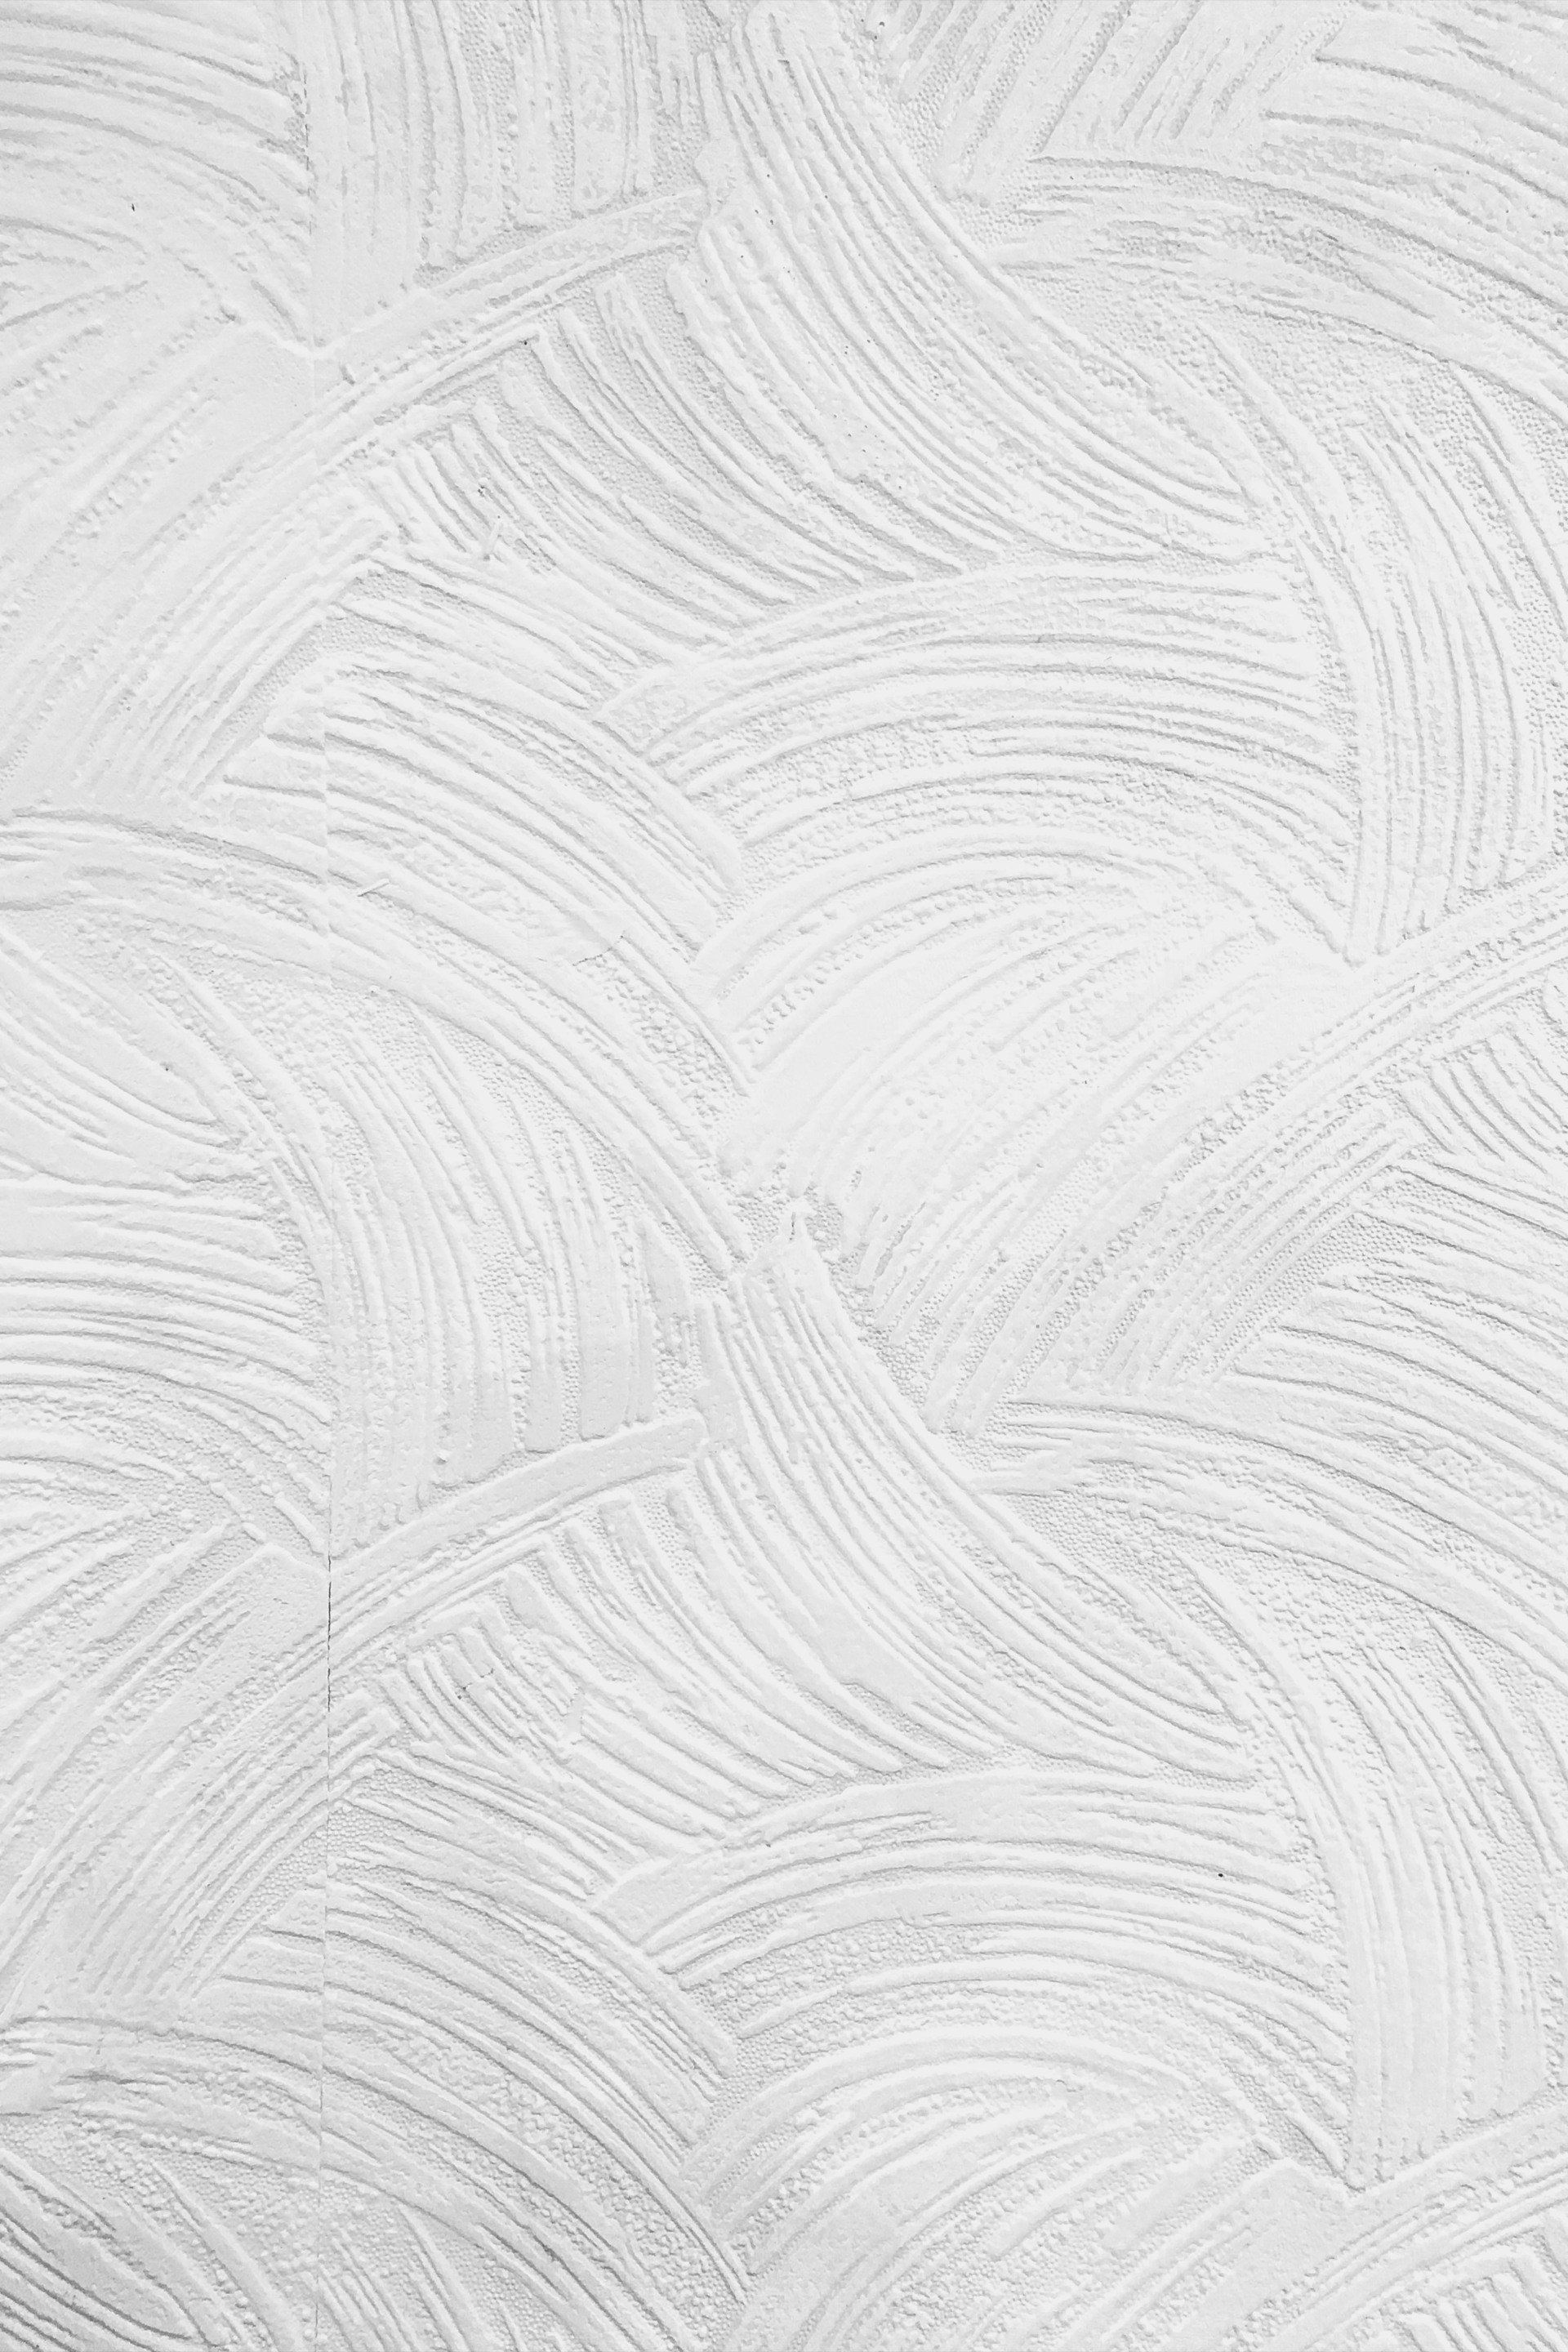
- Popcorn Ceilings: Touch up paint for popcorn ceiling is particularly challenging due to the textured nature of the surface. Use a specialized product that matches both the color and texture. Popcorn ceiling touch up paint is often available in spray form, making application easier.
Maintenance Tips for Long-Lasting Results
To keep your touch-up work looking fresh and seamless, follow these maintenance tips:
- Regular Cleaning: Dust and clean your walls and ceilings regularly to prevent buildup that can make touch-ups more noticeable.
- Prompt Repairs: Address small imperfections as soon as they appear. This prevents them from becoming larger and more challenging to fix.
- Proper Storage of Leftover Paint: Store leftover touch-up paint properly to ensure it's usable for future touch-ups. Keep the lid tightly sealed and store it in a cool, dry place.
- Color Matching: Keep a record of the paint colors and finishes used in your home. This will make future touch-ups easier and more accurate.
Conclusion
Touch-up painting is a valuable skill for maintaining the beauty and integrity of your home. Whether you're dealing with minor scuffs on walls, imperfections on ceilings, or the unique challenges of popcorn ceilings, the right approach and tools can make all the difference. By following this guide, you'll be able to tackle any touch-up project with confidence, ensuring a seamless and professional-looking finish.
Remember, the key to successful touch-up painting is preparation, precision, and patience. With these qualities, you can erase imperfections and keep your home looking its best.
You might also like